Customiser un Tote Bag avec une dentelle de crochet - DIY personnalisation d'un sac en tissu / Crochet TOTE BAG DIY
 |
| Tote Bag avec une dentelle de crochet - DIY personnalisation d'un sac en tissu |
********
This DIY is for Personal use only. I don't allow to sell the item made with this tutorial, to sell the DIY or to use my text and my pictures without my autorisation.
Pattern, instructions and photos by CocoFlower
Updated on April 1, 2026
All rights reserved
********
Aujourd'hui je vous propose de customiser un Tote Bag (sac de course en tissu) avec une jolie dentelle de crochet.
Today, we make a tote bag with a gradient crocheted lace. The English pattern is at the end of this post ! (English version below the French version) |
| Des couleurs fraiches |
Le matériel :
- un crochet (ici 3 mm) - disponible ici ou là*
- 4 pelotes de coton de différentes couleurs - disponible ici*
Ici pour le dégradé j'ai pris des pelotes : bleu ciel, turquoise, vert moyen et vert forêt. - une aiguille
- des ciseaux
Début de l'ouvrage :
Avec l'aiguille, faire un point de feston sur le devant du sac. Vous trouverez ici un bon tuto vidéo.
 |
| On commence par un point de feston |
Rang 1 : le premier rang est une suite de mailles serrées (le total des mailles doit être un multiple de 3).
Rang 2 : retournez l'ouvrage - 3 mailles en l'air, puis faire tout le rang en brides simples.
Rang 3 : retournez l'ouvrage - 3 mailles en l'air, puis faire tout le rang en brides simples.
Rang 4 : 5 mailles en l'air, puis on saute 2 mailles, (une bride simple, deux chainettes, on saute 2 mailles, une bride simple)* - On renouvelle * tout le rang.
Explication du picot : 3 mailles en l'air, une maille coulée dans la première maille.
Rang 5 : 1 maille en l'air, on retourne l'ouvrage, (1 maille serrée dans la bride du rang précédent, une maille serrée dans la chainette du rang précédent, 1 piquot, une maille serrée dans la chainette du rang précédent,1 maille serrée dans la bride du rang précédent)* - On renouvelle * tout le rang.
 |
| En bleu clair, rang de 1 à 5 |
Rang 6 et 7 : Changez de couleur (turquoise) - puis 1 maille en l'air, on retourne l'ouvrage, on renouvelle l'opération du rang 4 et 5.
Rang 8 et 9 : 1 maille en l'air, on retourne l'ouvrage, on renouvelle l'opération du rang 4 et 5.
 |
| Turquoise - rang 6 à 9 |
Rang 10 et 11 : Changez de couleur (vert moyen) - puis 1 maille en l'air, on retourne l'ouvrage, on renouvelle l'opération du rang 4 et 5.
Rang 12 et 13 : 1 maille en l'air, on retourne l'ouvrage, on renouvelle l'opération du rang 4 et 5.
 |
| Vert moyen - rang 10 à 13 |
Rang 14 et 15 : Changez de couleur (vert forêt)- puis 1 maille en l'air, on retourne l'ouvrage, on renouvelle l'opération du rang 4 et 5.
Rang 16 et 17 : 1 maille en l'air, on retourne l'ouvrage, on renouvelle l'opération du rang 4 et 5.
 |
| Vert foncé forêt - rang 14 à 17 |
Les anses :
J'ai utilisé la couleur la plus claire (bleu clair) sur le premier rang et la plus foncée (vert forêt) sur le dernier. On commence par réaliser un point de feston sur tout l'extérieur des deux anses.
 |
| Bordure de crochet sur les anses |
Rang 2 : changez de couleur, 5 mailles serrées, 1 picôt, 5 mailles serées, et ainsi de suite jusqu'à la fin de la anse.
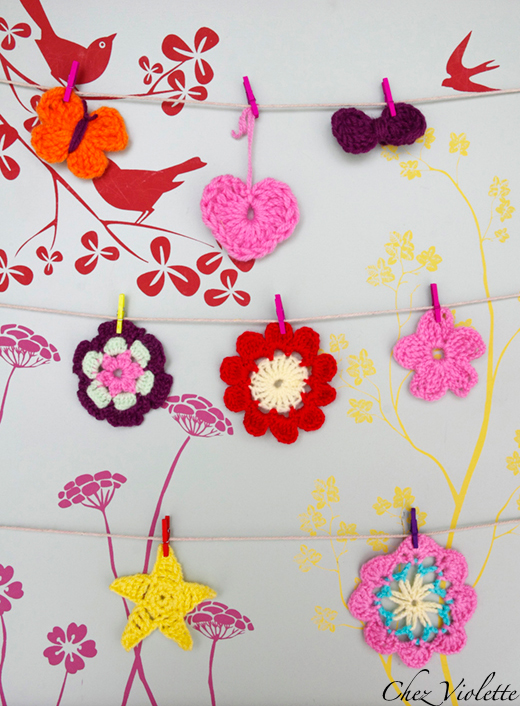
Les fleurs : vous trouverez des tuto de fleurs au crochet un peu partout sur internet. Donc je vous laisse choisir la forme des fleurs qui vous avez envie de mettre.
 |
| 4 fleurs en coton |
 |
| Accrocher les fleurs avec des chainettes de différentes tailles |
Et voilà, votre sac est terminé ! Pour plus de tenue, vous pouvez coudre les bords de la dentelle au sac.
 |
| Tote Bag personnalisé avec une bordure de crochet dégradée bleu/vert émeraude |
J'espère que vous avez aimé ce tuto/DIY.
Ce tote bag participe au concours de customisation de Tote Bag de Alittlemarket de Modes & Travaux.
 |
| DIY Tuto bordure dentelle au crochet sur un Tote Bag |
****************************
Materials :
English translation - TOTE BAG CROCHET LACE DIY/TUTO
Materials :
- 1 hook – available here*
- 4 cotton colors (blue, turquoise, green, dark green) – available here*
- a needle
- a pair of scissors
First, make a blanket stitch with the needle on the bag.
Row 1: single crochet (multiple of 3)
Rows 2 and 3: double crochet
Row 4: chain 5, skip 2 chains, (1 double crochet, chain 2, skip 2 chains, 1 double crochet)* - repeat until the end of the row
Row 5: chain 1, turn the bag, (single crochet on the double crochet, single crochet on the chain, picot, single crochet on the chain, single crochet on the double crochet)*- repeat until the end of the row
Rows 6 and 7: change color (Turquoise), repeat Rows 4 and 5
Rows 8 and 9: repeat Rows 4 and 5
Rows 10 and 11: change color (Green), repeat Rows 4 and 5
Rows 12 and 13: repeat Rows 4 and 5
Rows 14 and 15: change color (Dark Green), repeat Rows 4 and 5
Rows 16 and 17: repeat Rows 4 and 5
Handles: Make a blanket stitch with the needle on the handle
row 1 : single crochet
row 2 : (5 single crochet, picot, 5 single crochet)* - repeat * at the end of the row
Flowers: make some flowers (you will find easily some free pattern on internet)
I attach the flower with chain at the bag.
Row 1: single crochet (multiple of 3)
Rows 2 and 3: double crochet
Row 4: chain 5, skip 2 chains, (1 double crochet, chain 2, skip 2 chains, 1 double crochet)* - repeat until the end of the row
Picot = Chain 3, slip stitch on the first chain
Row 5: chain 1, turn the bag, (single crochet on the double crochet, single crochet on the chain, picot, single crochet on the chain, single crochet on the double crochet)*- repeat until the end of the row
Rows 6 and 7: change color (Turquoise), repeat Rows 4 and 5
Rows 8 and 9: repeat Rows 4 and 5
Rows 10 and 11: change color (Green), repeat Rows 4 and 5
Rows 12 and 13: repeat Rows 4 and 5
Rows 14 and 15: change color (Dark Green), repeat Rows 4 and 5
Rows 16 and 17: repeat Rows 4 and 5
Handles: Make a blanket stitch with the needle on the handle
row 1 : single crochet
row 2 : (5 single crochet, picot, 5 single crochet)* - repeat * at the end of the row
Flowers: make some flowers (you will find easily some free pattern on internet)
I attach the flower with chain at the bag.
********
*Certains liens présents dans cet article sont des liens affiliés / Some links in this post are affiliate links.
*Certains liens présents dans cet article sont des liens affiliés / Some links in this post are affiliate links.
********
This DIY is for Personal use only. I don't allow to sell the item made with this tutorial, to sell the DIY or to use my text and my pictures without my autorisation.
Pattern, instructions and photos by CocoFlower
Updated on April 1, 2026
All rights reserved
********
Do you like my work?
You can support me by exploring my creations here →
www.cocoflower.net
I am also on:
Thanks for your support 💛