DIY : Make your own Rose water 🌹

DIY : Make your own Rose water 🌹 by CocoFlower

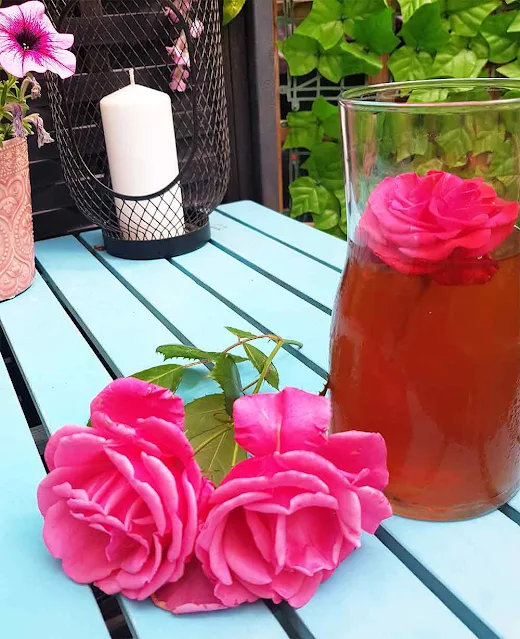
I use my natural rose water every day. Whether it's to cleanse and revitalise my skin in the morning, or to remove my make-up in the evening. I also add it to my shampoo rinse mixed with white vinegar.

Result : more beautiful skin and beautiful, shiny hair.

DIY : Make your own Rose water 🌹 by CocoFlower

How to make your own Eau de Rose?🌹🌹🌹

It couldn't be easy!

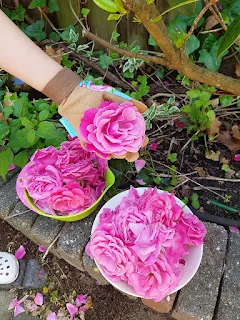
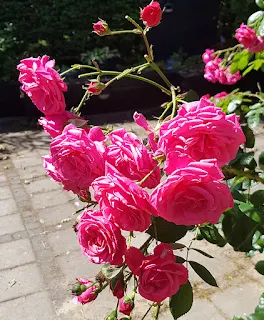
1. Harvest your roses. I use a mixture of pink climbing roses and red roses growing on my terrace.

DIY : Make your own Rose water 🌹 by CocoFlower

The more rose you add, the less water you add = the more concentrated your product will be. Be generous with your harvest.

DIY : Make your own Rose water 🌹 by CocoFlower

2. Remove the petals.

DIY : Make your own Rose water 🌹 by CocoFlower

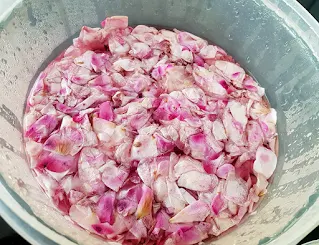
3. Wash in cold water.

DIY : Make your own Rose water 🌹 by CocoFlower

4. Place in a large bowl.

5. Bring the water to the boil.

6. Pour the hot water over the petals.

DIY : Make your own Rose water 🌹 by CocoFlowerVerser de l'eau bouillante sur vos pétales de rose - DIY Eau de Rose par CocoFlowder

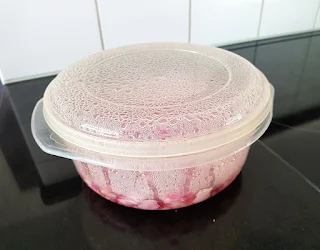
7. Close with a lid.

8. Leave to stand for 24 hours.

DIY : Make your own Rose water 🌹 by CocoFlower

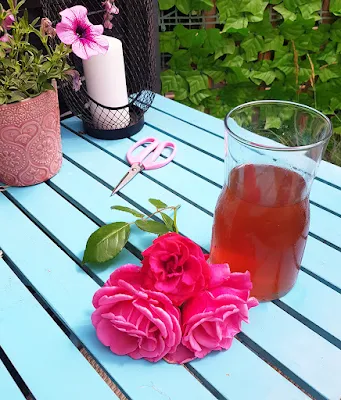
9. Open the lid: it smells of roses 😻

10. The petals have turned White. Your water is Pink. Magiccc!

11. Remove the petals.

12. Take a container such as a plastic bottle or small glass vase.

13. Pour in your rose water, filtering it through a funnel and gauze (or kitchen roll).

14. Put your rosewater in the fridge to converse. I keep it in the fridge for a maximum of 1 week.

The rest I freeze.

DIY : Make your own Rose water 🌹 by CocoFlower

15. Use your fresh rose water. Mmmm, that's great!
DIY : Make your own Rose water 🌹 by CocoFlower

To know more about Rose Water.

************************************************************************

Do you like my tutorials and DIY?
Support my work by visiting my handmade creations shop.

Comments

Popular posts from this blog

Tuto Etui de téléphone portable au crochet - Crochet Phone case DIY Pattern

Aujourd'hui, je vous propose de réaliser un étui pour téléphone portable au crochet. Today, I propose to make a DIY : a crochet phone case. Pour ce faire, il faut /  We need : ♥ du coton en 4 couleurs différentes : rose pale, rose foncé, vert, bleu ciel - cotton with 4 colors : pastel pink, dark pink, green and pastel blue. ♥ un crochet n°3 - a hook number 3 ♥ un joli bouton - a cute button ♥ une aiguille à laine - a wool needle ♥ des ciseaux - scisors ♥♥♥♥♥♥♥♥♥♥♥ Etape 1/ Step 1 : réaliser la pochette / make the case ♥♥♥♥♥♥♥♥♥♥♥ 1.1 - Faire une chainette de la hauteur de votre téléphone / make a Foundation chain of lenght of your phone case. Par exemple, pour mon Samsung Galaxy note 3, j'ai fais une chainette de 35 mailles. For example, for my Samsung Galaxy note 3 phone I made a Chain of 35. 1.2 - 1 maille en l'air, puis une premier rang de mailles serrées. Dans la dernière maille, faire 3 mailles serrées. Puis un rang de mailles

DIY Crochet Easter Chicken - Eggcup and Egg cover - Free Crochet Hen tuto

Hello everybody ! Today we lean to make a crochet Chicken egg cover and eggcup : When you put the cover on the eggcup, you have a cute Chicken, perfect to hide eggs during Easter :) ******** This DIY is for Personal use only . I don't allow to sell the item made with this tuto, to sell the DIY or to use my text and my pictures without my autorisation. ******** Material : -A crochet size 3.5 -Cotton thread -S cissors -Yarn needle  -Motivation and time (maximum 4 hours to make it) Stitches (american lexicon) : -Slip stitch (mailles coulées) -Single crochet (mailles serrées) -Half double crochet (demi-brides) -Double Crochet (brides simples) - Treble ( doubles brides) This Crochet Chicken is easily makable by a crochet beginners. The Steps : 1. Hen Egg Cover : Row 1 -  Chain  2 - 5 Single crochet in the second chain. Row 2 - 2 Single crochet in each Single crochet around. You have 10  stitches. Row 3 - ( 1 Single crochet, 2 Si

Customiser un Tote Bag avec une dentelle de crochet - DIY personnalisation d'un sac en tissu / Crochet TOTE BAG DIY

Tote Bag avec une dentelle de crochet - DIY personnalisation d'un sac en tissu Aujourd'hui je vous propose de customiser un Tote Bag (sac de course en tissu) avec une jolie dentelle de crochet. Today, we make a tote bag with a gradient crocheted lace. The English pattern is at the end of this post ! Des couleurs fraiches Le matériel : un crochet 4 pelotes de coton de différentes couleurs. Ici pour le dégradé j'ai pris des pelotes : bleu ciel, turquoise, vert moyen et vert forêt. une aiguille des ciseaux Début de l'ouvrage : Avec l'aiguille, faire un point de feston sur le devant du sac. Vous trouverez ici un bon tuto vidéo . On commence par un point de feston Rang 1 : le premier rang est une suite de mailles serrées (le total des mailles doit être un multiple de 3). Rang 2 :  retournez l'ouvrage - 3 mailles en l'air, puis faire tout le rang en brides simples. Rang 3 :  retournez l'ouvrage - 3 mailles en l'air, pui